It begins with the creation of the two transom skirt support blocks (port and starboard) to which the skirt is fastened.
They have to be carefully made, with bevelled faces top and bottom, and fitted so that their tops are perfectly flat and level across the stern.
The rear, outside face at the stern also has to be bevelled to receive the transom skirt as it curves across the stern and lands on the block.
So it's quite tricky to get all the angles right ...
I found it easiest to cut the bottom bevel first, and then the bevel on the rear face to make sure that the transom skirt would lay flat across it, and then I cut the top bevel last.
The first task is to find a piece of decent 1 1/2" square stock. I had an unidentified length of Douglas Fir in my timber pack which looked the right size, so I used that.
I then made a cardboard pattern to familiarise myself with the geometry of the blocks, and to work out how to make and fit them. Here is the pattern.
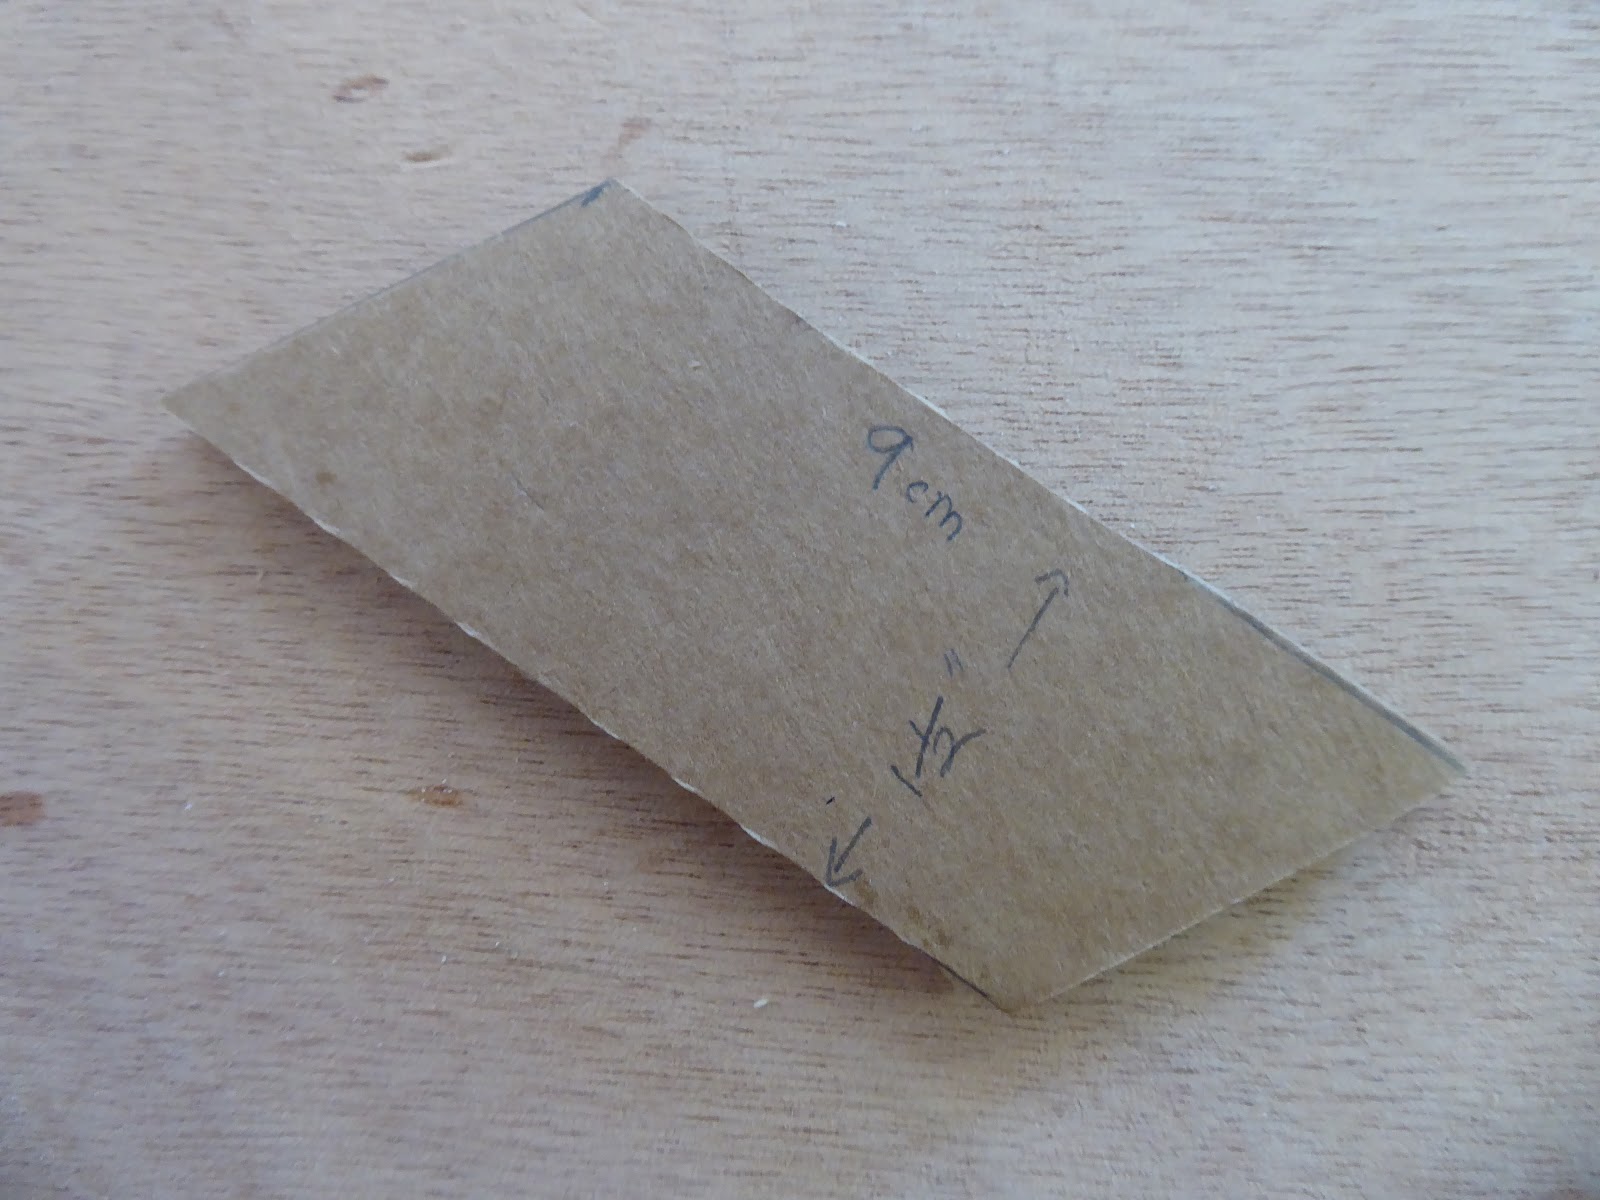
In true PocketShip build tradition the dimensions are a mix of metric and Imperial!
The top bevel lies flat along the edge of the topside panel, and the parallel bottom bevel lies along or just above the join between the topside and side panels, and the block itself will fit snugly between the topside panel and the transom.
A bevel gauge is useful for lifting off the angles.
All will become clear, I promise ...
Here is the bottom bevel marked off on the stock.

And here the bottom bevel has been cut and is being smoothed with the block plane.

This is the port block test fitted with temporary screws.

I find it essential to label each piece (port and starboard, up and down, inside and outside face etc) to avoid mistakes. It's easy to lose the plot when making fiddly parts!
The key to fitting the the transom skirt is understanding that the joint is edge-to-edge on the inside face of the transom. The drawings on page 176 and 177 of the manual show this clearly, as here.

Here is the edge-to-edge joint between the transom and the port support block.

This is how the port support block looks from inside the boat.

You can see that it doesn't need to reach further down the topside panel than the top of the transom to do its job.
Lastly I marked up and cut the top bevel.
This is the port support block before fitting, showing its two bevelled top and bottom faces, and with a bevel planed on its outside face so the curved transom skirt will sit flat against it.

And lastly, here is the starboard support block in place on its final dry test fit.

You can see where I have planed the outside face to take the curve of the transom skirt.
This exercise was a lot of work and not a little head scratching, but the results were good and I am confident that the blocks will work well when I fit the skirt.
No comments:
Post a Comment