Saturday 23 April 2022

Companionway Slide | Preparing To Prime

The companionway hood and slide have been residing in the house for months, waiting for their turn to be finished.

Again, finding that painting the rudder and transom frame leaves me with time to spare I decided to finish the slide.

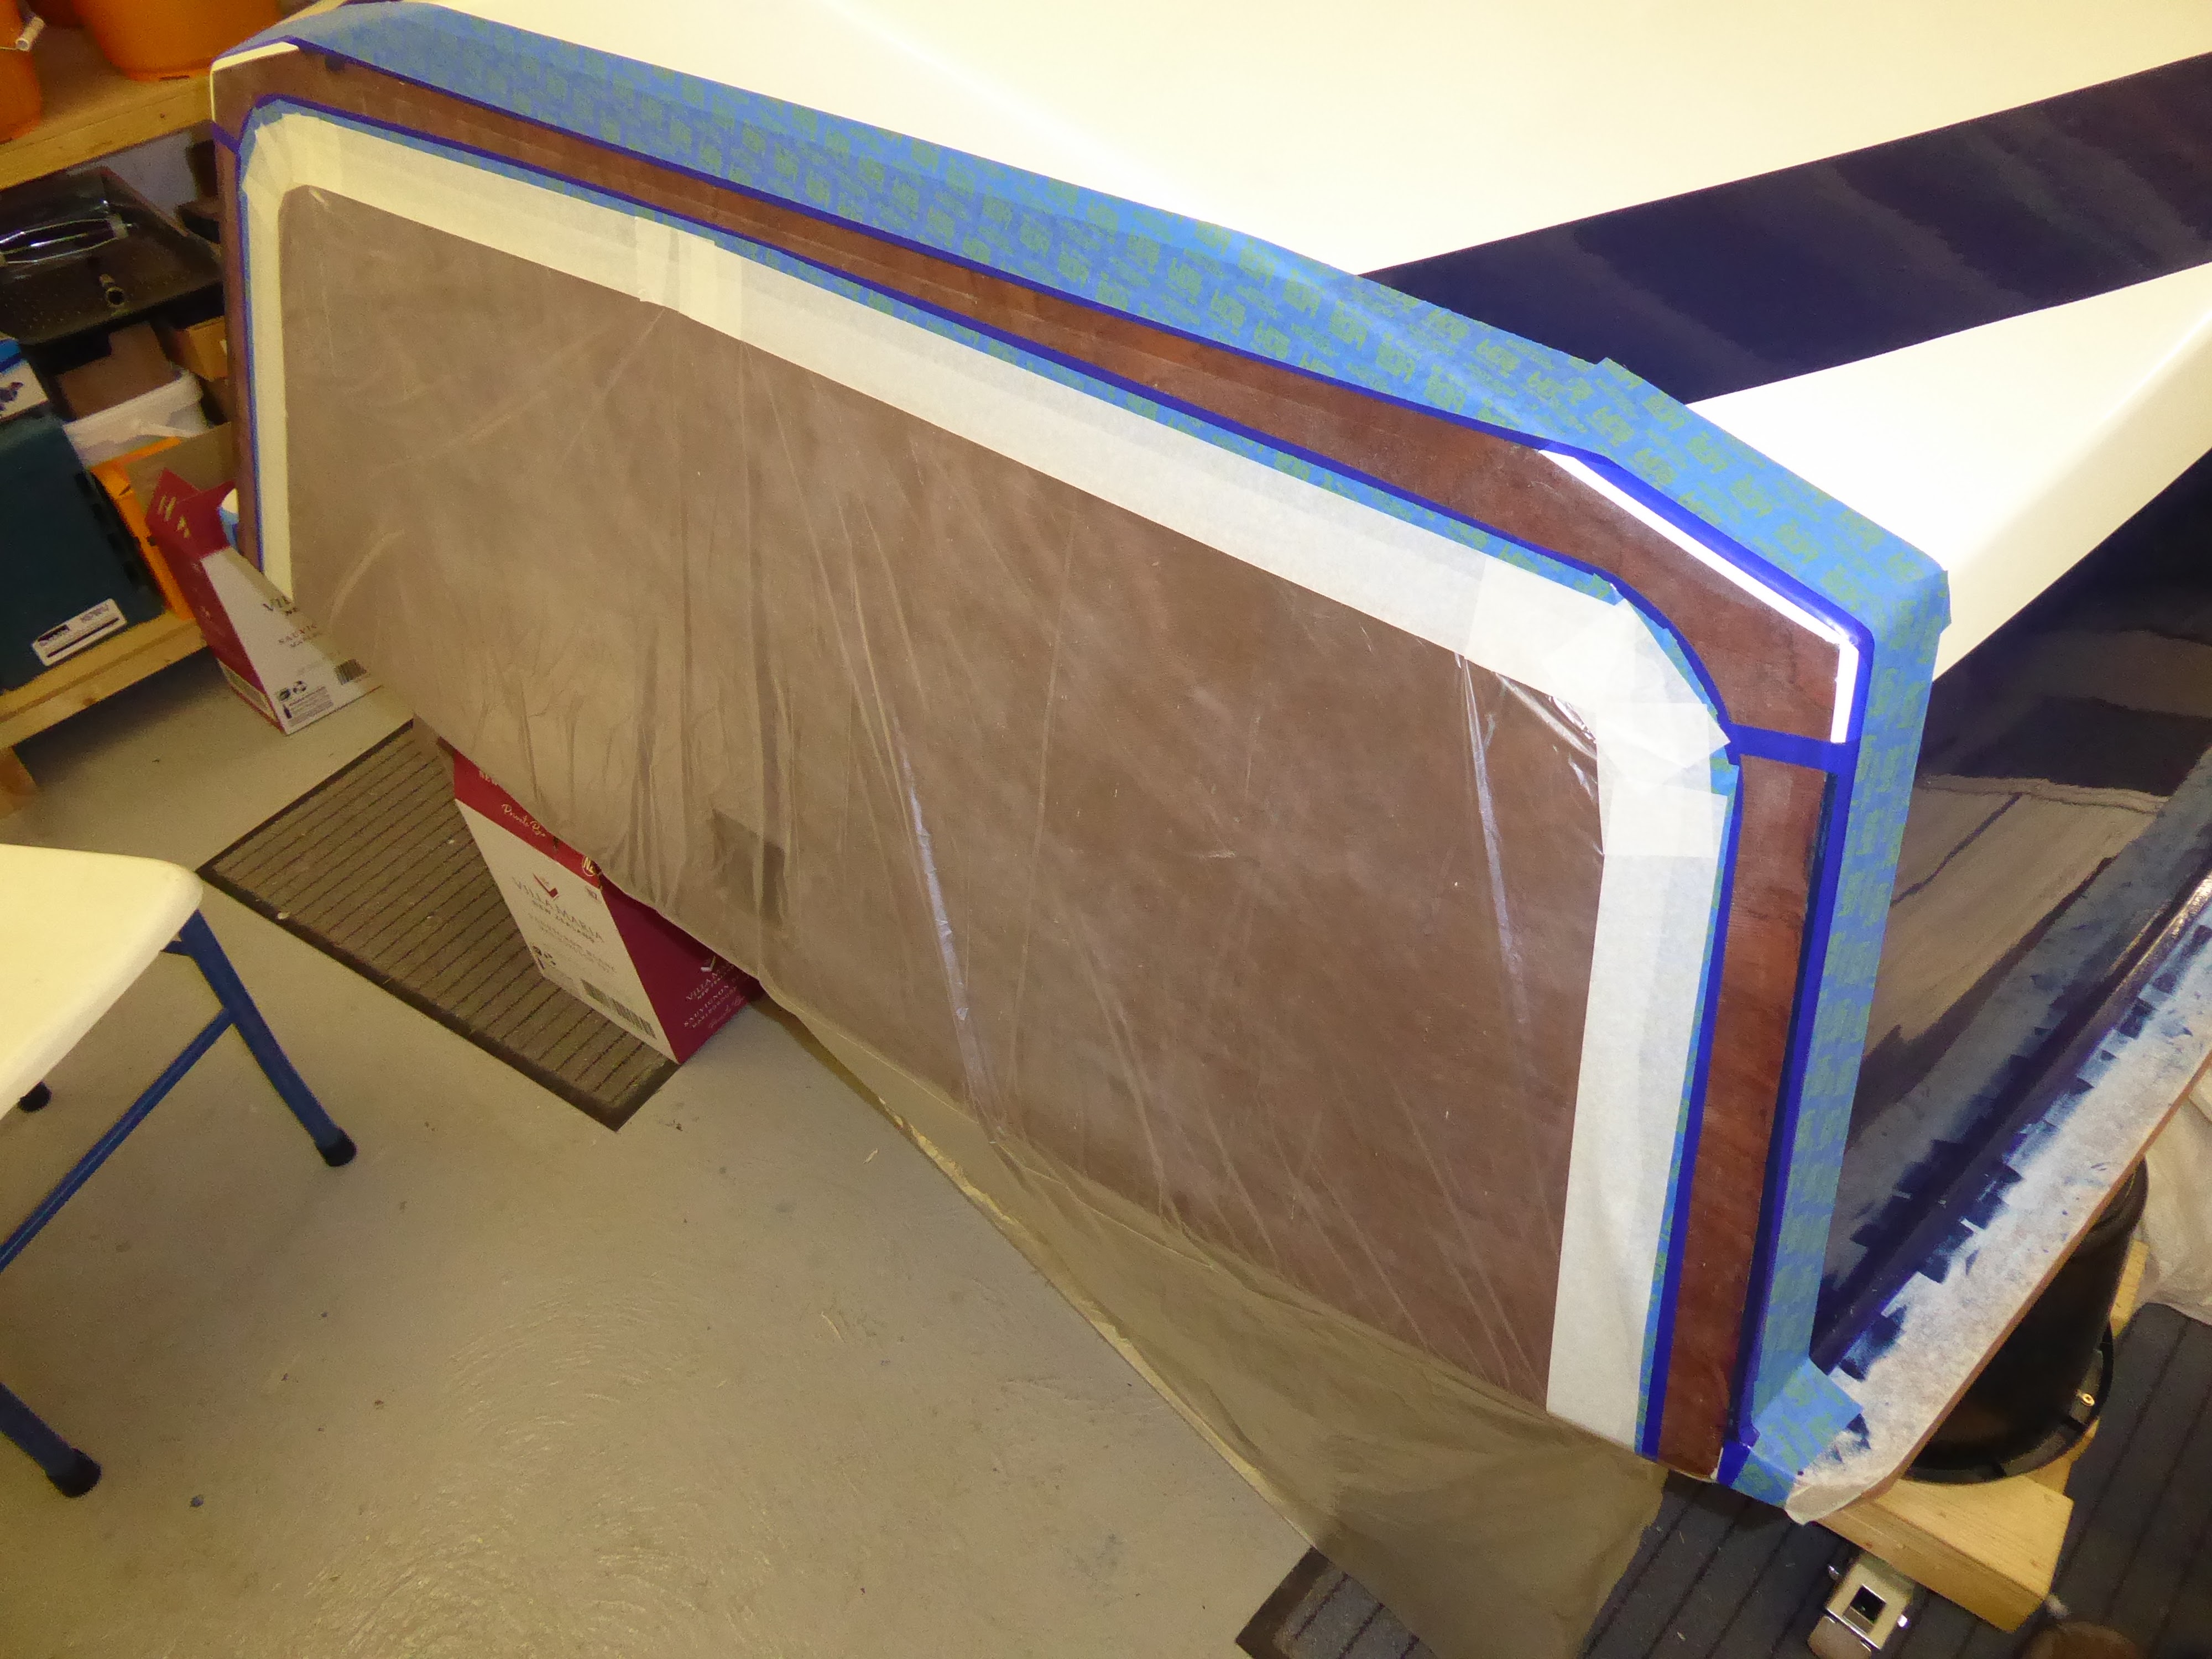
I moved the slide into the workshop and dusted it off. I was dismayed to find some small air bubbles in the fibreglass that covered the top of the slide.

Here is the slide.


And here are the air bubbles.


There aren't many and they are very small, just like the ones I found on the hull side panels when painting.

The advice from Fyne Boats at that time was simply to sand them and fill any voids with epoxy. I actually very carefully ground the side panel bubbles out and filled them with epoxy filler, and I decided to do the same with the companionway slide.

Here we are using a very fine burr to do just that on the slide.


It's a nuisance but not a material problem, and it's important to know that the boat has been properly finished.

Onwards and upwards!

Rudder | Preparing For More Paint

Happy with the finish on the blue rudder cheeks and boot top, I prepared to paint the blade.

Here the cheeks and the stripe have been taped up and masked off.


I have masked off all of the cheeks to save messing them up when wet sanding the blade.

Voice of experience.

Spars & Other Bits | Varnishing

With the painting of the transom frame and the rudder taking so long, I found myself with a lot of time on my hands. So I decided to start varnishing parts now to save time later on.

I haven't got enough room in the workshop to work on all the spars at the same time, so I left the mast inside the house.

I varnished the boom, gaff, gallows and bowsprit. And while I was at it I varnished the tiller and the drop board retainers.

Here they are drying on the bench after three coats.


This is the varnish supplied with the paint package.


It's lovely stuff. It flows well and sets hard and shiny. I'm going to give it five coats and let it harden up before trying a wet sanded finish.

There aren't that many parts left to paint now - amazing!

Transom | Painting The Frame

When the primer on the transom frame was hard I sanded it flat with P220 grit and applied ten coats of blue gloss while I was painting the rudder.

As with the rudder the blue edges were wet sanded and polished to get a nice finish, like this.


Then the white stripe was glossed. This is the second or third coat.


This is certainly taking a long time, but it is looking really nice.

Rudder | Painting Cheeks & Stripe

When the primer was nice and hard I sanded the cheeks and the boot top smooth with P220, then applied ten coats of Oxford Blue gloss. It looked like this.


Then I wet sanded the blue with P800 through to P2500 wet and dry grit, like this.


Lastly I used the sander and polishing compound from P5000 through to P11000, as here.


It turned out really nice!


Next job is painting the blade. Exciting!


Build Cradle Template

I thought I would have had the boat flipped right side up by now, but everything takes much longer to do than I initially think.

At some point though I will have to reassemble the build cradle to receive the painted hull, so I would need to know where it would interact with the keel and bottom panels.

The cradle was too heavy to check this, so I made a pair of cardboard templates to do the positioning. Here they are in place on the hull bottom.


I will mark the bottom with tape so we know where to drop the boat into the cradle when the big day arrives!


Keel | Pivot Holes

The centre board pivot had been epoxied into its hole through the keel, and now required cleaning up before painting.

Here the port side has been sanded smooth.


Rudder | Taping Up & Priming

I decided to prime the rudder at the same time as the transom frame, saving time later on and materials now.

Here is the rudder with white primer applied and taped off to apply grey to the cheeks.


Then the cheeks got three coats of grey primer, like this.


Lastly I marked up and taped the blue boot top to match the hull, sanded it and applied grey primer. It was starting to look quite smart!


I can't wait to gloss it all!


Transom Frame | Marking Up & Priming

My experience painting the horizontal blue boot top on the transom made it clear that it was going to take a long while to add the white and blue stripes to the vertical edges.

This mainly because ten coats of gloss are required to obtain a good finish, but also because the white and blue sections cannot be painted at the same time.

The first task however was to mark up the rest of the transom stripes. So I used masking tape to cover the edges so I could pencil in the lines as many times as needed to get it looking just right. Like this.


You can just see the red laser line being used to ensure that the horizontal lines are level.

I am copying the paint scheme on the prototype, so required the white corners of the stripe to be curved upwards to meet the blue.

Here is the curve marked up on the port chine.


I made the horizontal white stripe the same width as the blue boot top, which was 38mm. As here.


Likewise the vertical blue stripes were pencilled in at the same width, like this.


I initially decided that the horizontal white stripe would be of even width, but after standing back to take a good look I decided that it would look better with a slightly curved top.

That's how the prototype was painted, and there has to be a good reason for that.

Here I have taped a thin batten to the transom so I could mark up a fair curve.


Satisfied that the stripes all looked good - I am going to refer to them collectively as the 'frame' from now on - I transferred the pencil line to the transom itself.

Here the frame has been taped up and the transom masked off before painting begins.


And here three coats of white and grey primer have been applied.


So far, so good!


Transom | Boot Top Stripe

The horizontal blue boot top stripe required three coats of primer sanded to P220, followed by  ten coats of gloss.

The gloss was wet sanded from P800 to P2500, and finished with the sander and polishing compound from P5000 to P11000.

This is what it looked like when the masking tape was removed.


Looking nice!
 

Transom Rudder Slot | Cleaning Up

I had been meaning to clean up the slot in the transom for the tiller for quite some time, and finally got around to doing so while waiting for various paint jobs to dry.

So I cut out the fibreglass and smoothed the edges.

Now it looked like this.


You can see the mess on the transom caused by not masking it off when wet sanding the bottom panels.

More cleaning up to do!