
Then I used a laser level to mark the waterline across the transom, as here.

This is the laser level itself.
I initially bought the cheapest I could find, reasoning that I didn't need a quality instrument for such a small job.
Big mistake. The cheap level was rubbish and was promptly returned to the store, and this one was purchased instead. It worked perfectly and I am very happy with it.
I pencilled in the waterline across the transom and used the laser level to continue the line around both sides of the hull. This is the laser line on the port side.
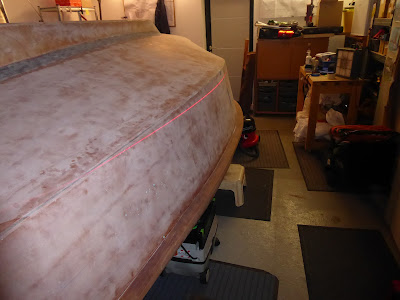
I pencilled in marks at short intervals and joined them with a straight edge to get a nice, fair, flowing waterline.
Here the line is crossing over the chine on the forward end of the hull.

So far, so good!
Happy with progress I taped in the waterline using some 3M Fine Line tape. It's really good tape, and conforms easily to curves.
Here is the view from the starboard bow.

But I soon realised that something was not quite right.
The waterline was symmetrical until it passed over the chine and back to the transom on the bottom of the hull. At this point it joined the transom at slightly different places port and starboard.
After some head scratching I worked out that this could only be because the hull itself is not perfectly symmetrical. The difference was very small - a few millimetres - but of course over the length of the boat this is amplified to a visible extent.
Given the method of construction this is clearly going to be an unavoidable issue. I needed to find a way to do this correctly.
I needed a datum point on the hull where I could be sure that the waterline was in exactly the right place.
As is often the case with PocketShip there is no such measurement in the drawings, so I examined photos of the prototype and noticed that the waterline crosses the chine at the front of the boat exactly below the forward edge of the forward porthole.
I used the laser level to check this on my boat and immediately saw a problem.
This is what the starboard side looked like.

It's way off where it should be, and wasn't even the same on the port side!
So off came the tape and the incorrect pencil line was sanded off.
Then I marked where the line should cross the chine on both sides and used the laser level to mark it from that datum point.
That went well and I now knew that the line on each side was exactly where it should be. The tiny visual discrepancy at the transom was removed by adjusting the waterline by a fraction on each side.
That looked great and I was happy, so a second waterline was taped up. Here is a view from the starboard bow.

That was very satisfying in a perverse and masochistic way!
No comments:
Post a Comment