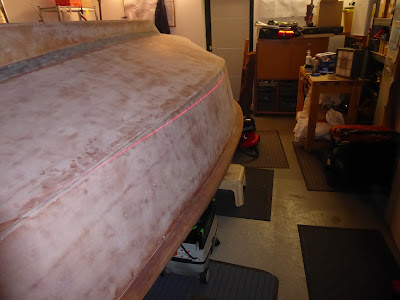
Brush marks in the primer showed clearly through the gloss, and although it wasn't really awful I knew it could be so much better.
I could also see where the wet edge was, well, no longer wet and had dried in numerous places. Not good.
The level of finish would have been OK in a house interior, with an eggshell or satin finish, but it wasn't nice enough for the high gloss surface of a boat.
So I made the decision to sand it all off and start again!
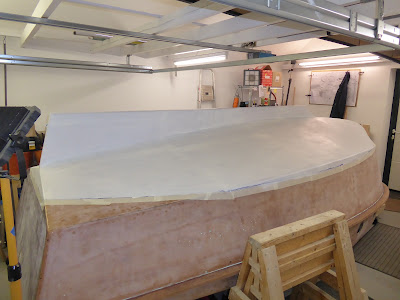
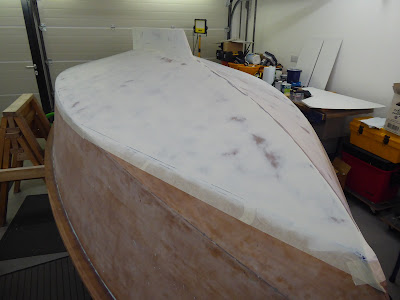
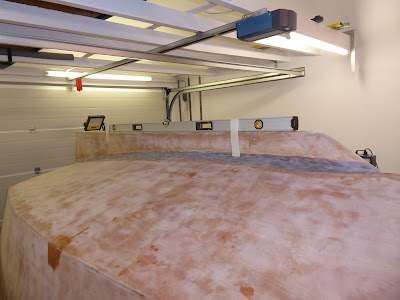
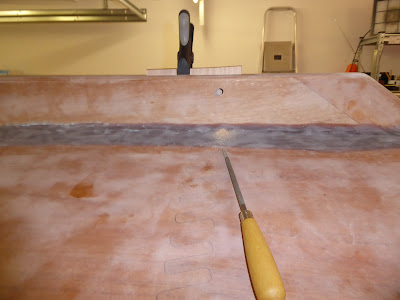
This is the port bottom panel, part sanded to P120.

And here is the bottom of the hull fully sanded port and starboard.

I expected the first round of painting the hull to be a learning experience, and it certainly was.
Key lessons learned were:
1. Primer has two distinct but equally vital roles - to provide a) a solid colour base and b) a perfectly flat surface for the gloss.
That means several coats sanded to a really fine finish, with no bare patches.
2. Despite the manufacturer's recommendations, there was no way that a really nice finish could be achieved without thinning or conditioning the gloss.
So some experimentation was required before we painted the hull. Again.
I decided to try proper paint conditioner, as shown in every 'how to paint marine gloss' video that I had seen.
The stuff that seems to be available in the UK is called Owatrol.
It's only available in trade outlets and is ferociously expensive, so a I bought a small can for the trial.
Here it is.

The instructions tell us that it should be added to paint between a 5% and 20% ratio.
So I mixed a quantity at 5% and applied it to the centreboard by way of a test. This is what it looked like.

Not too bad at all!
I also glossed the drop boards, like this.

Encouraged by the improved results I applied two test patches to the hull, as here.
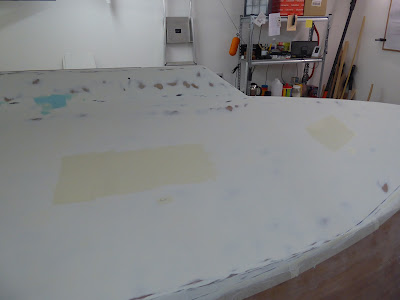
I tipped out one patch with a foam brush, and the other with a bristle brush, to see which gave the best results.
So now we wait and see how it dries, and if this is the way ahead.