Tuesday, 2 August 2022

Portlight & Ventilator Holes | Masking Off

I did not want paint to drip or run through holes in the upper hull when painting got under way.

Accordingly I plugged the ventilator and portlight holes with cardboard by taping up the interior, like this.


And by then dropping a cardboard disk onto the tape, as on this ventilator hole.


That will keep out unwanted paint and debris.

I did the same to the portlight holes, as here.


Nearly ready for paint!


Footwell Drain Holes

I neglected to drill the drain holes in the cockpit footwell when the boat was initially upright, and had been telling myself that I 'forgot' to do it.

The truth is, I am sure, that I was terrified of wrecking the finished surface of the beautifully varnished transom by tearing out wood around the holes. Other have done this, and have had to paint the transom as a result.

But I could procrastinate no longer. Drain holes were needed before the upper hull could be painted, and had to be made now.

I thought about it for days and decided to drill a small hole from inside the footwell to mark the centre of the drains, and use that as a pilot hole to guide a bigger drill from the the outside.

In this way I hoped to avoid tearing the grain in the lovely Sapele transom by drilling in rather than out through the surface veneer.

First, the pilot holes.

Here I have used masking tape to mark where the centre of the drains should be inside the well, and drilled a 3mm pilot hole.


Here are both holes on the outside of the transom.


A quick check with a spirit level showed that they were exactly aligned. Phew!

Now came the thorny problem of how to drill the drains without ripping out lumps of ply.

I had previously obtained a 20mm needle point wood twist drill and tried it out on a piece of 18mm scrap plywood.

It was a failure. It drilled the hole just fine, but despite slow speed and great care I still tore up the veneer on the surface around the hole. So that was not going to work.

I visited my local hardware store which caters for trade - not DIY - customers, seeking inspiration.

And it was here that I found just what I needed - an auger bit!

The largest they had in stock was 18mm, which was just fine.

Here is the bit in my ancient brace.


And here is the business end of the auger.


It has a screw tip which pulls the auger into the wood, and the super-sharp 'wing blades' of the auger cut the hole.

I tried it on some scrap ply and it worked well, so I took a deep breath and started to slowly and carefully drill the first hole in the transom.

It worked really well! The wing blades cut cleanly and effortlessly through the transom with no damage to the surface.

Here are both freshly drilled drain holes.


Wonderful!


Transom | Taping Up For Paint

We would very soon be painting the upper hull with white primer, so the top of the varnished transom needed to be masked off.

While I was at it I decided to mark up and tape in the upper blue line of the transom frame to save time and trouble later.

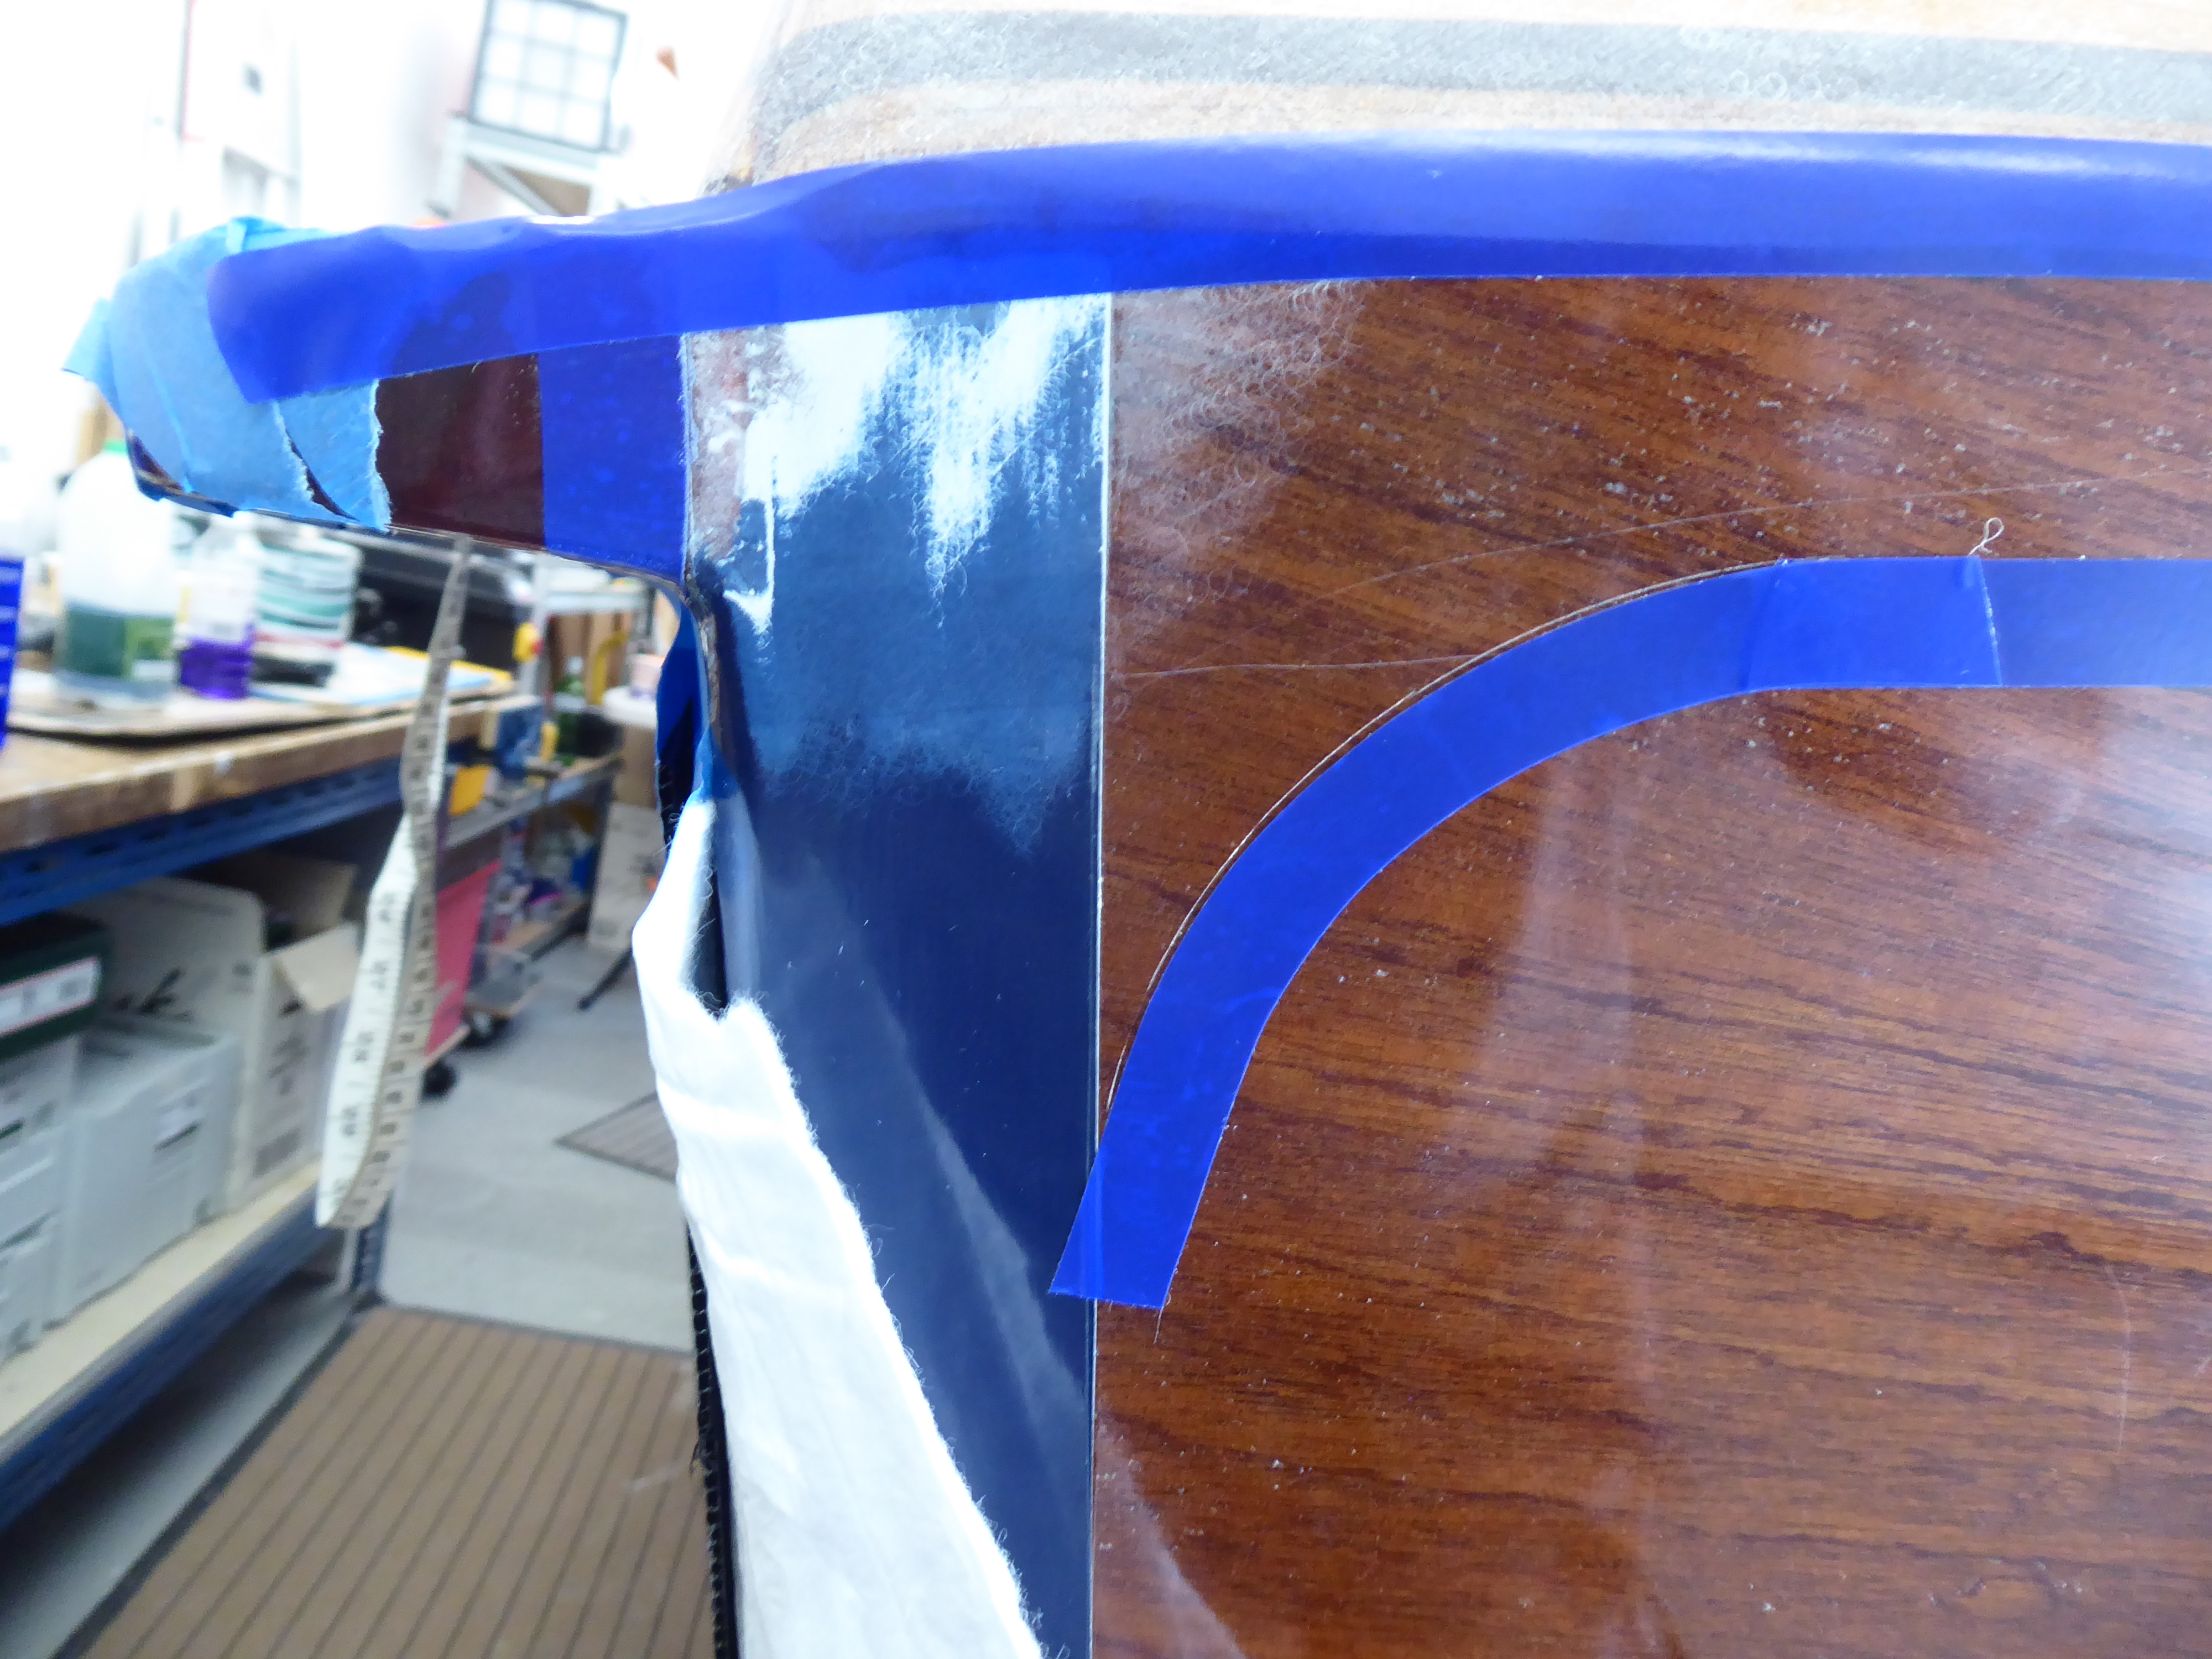
First I decided where the white-painted transom skirt would meet the transom itself, and taped up a fair curve across the top of the transom. This masks the transom from the white paint.

Then I marked up and taped off the bottom edge of the blue frame stripe that will run across the tope of the transom. Like this.


I used paper masking tape and a dressmaker's tape measure to ensure that the blue stripe would be the same width as the sides of the frame across the width of the curved transom top i.e. 38mm.

The top corners of the frame are curved where the top meets the sides so I very lightly scribed in a line using a suitably sized pot to make the curve, and taped off the corners.

Here is the port corner.


Here is the strip all taped up.


When I come to paint the blue stripe all I need to do is peel off the top tape which masks off the white paint, and tape up a new line which masks off the blue.

It was a bit fiddly and time consuming but will save a lot of trouble later.

Lastly the transom was covered up with protective sheeting again.

We're getting there!


Fibreglass Strips | Blending In

I had installed reinforcement strips of fibreglass at the sides of the cockpit where the sides met the deck, because I feared a weak point where I had inadvertently made a butt joint there between the sheets of 'glass covering the deck, rather than an overlap for strength.

When cured I sanded the strips with a P120 grit to blend them in with the rest of the deck.

Here the starboard strip has been sanded and the unblended port strip is also visible.


Note the portable industrial grade extraction fan placed near the sander to pick up any dust. I purchased two to use either side of the workshop when sanding; portable because I don't have room to hang a big unit on the wall.

They work really well and of course can be used on the bench or on the boat to directly suck up any nasty dust.


Companionway Hood & Slide | More Gloss

The interior of the companionway hood was to be painted before installation, so it had been primed and sanded before being glossed.

Here it is after four coats of Ivory White.

I painted the outside of the slide at the same time, while the rollers and brushes were out and to save a bit of time later.

Here it is, again after four coats.

My plan is to use ten coats of gloss on all of the upper hull, because that's what gave the best results on the underside for both blue and white paint.

The inside of the hood will require very little finishing though, because most of it will be out of sight when fitted.


Companionway Sill & Cabin Roof | Primer

Now that the hull was upright again it was time to install the companionway hood so that the upper hull could be painted and finished.

My plan was to paint the part of the cabin roof covered by the hood before installation, because it would be easier than trying to paint inside the hood afterwards.

The sill and roof were sanded smooth with a P120 grit and the first coat of primer was applied.

This is what it looked like.


 That's the first paint on the upper hull - exciting times!


Sunday, 17 July 2022

Fibreglass Panels | Final Application

Some parts of the hull still required more fibreglass patches, so that was next.

When I 'glassed the cockpit I overlapped panels from the seatbacks and the cockpit deck, but unfortunately when smoothing the deck I sanded away the overlap which did not seem to have adhered securely to the other panel.

The same thing happened on both sides of the cockpit, so I ended up with a butt joint on the 'glass panels instead of a much stronger overlap.

So this need to be remedied. Here are the reinforcing strips laid in place, with the port strip wetted out.


The transom skirt still needed to be 'glassed, since I did not do that when the boat was upside down.

Here is the dry skirt panel laid in place.


And lastly here are the wetted out panels on the skirt and cockpit deck.


I will fill the weave and blend in the panels when fully cured.