Sunday, 6 March 2022

Hull Side Panels | More Gloss

When the Hempel filler had cured I sanded the affected surfaces flat with a P220 grit and applied four more coats of paint.

This is the paint I am using. The colour is Oxford Blue, appropriately enough!


I used this roller and a foam brush for tipping out.


I left the paint to fully harden for a couple of days and then sanded the surface with a P280 grit to get a nice flat surface. As here.


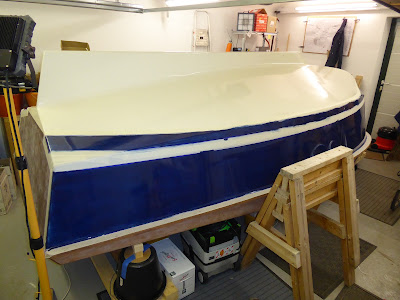
Lastly I applied a sixth coat of gloss, hoping it would be the last. This was the result.


Looking good!

When the paint was dry I pulled the masking tape on the stripes, as here.


It left a lovely sharp edge with no bleeding. This 3M tape is excellent stuff!


Hull Side Panels | Gloss Paint & Bubbles

I masked off the white boot top stripe and applied the first coat of blue gloss to the sides, using a 4" roller and a foam brush for tipping out.

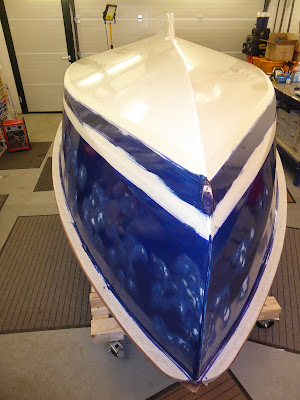
Not surprisingly it looked pretty patchy, as in this view from astern.


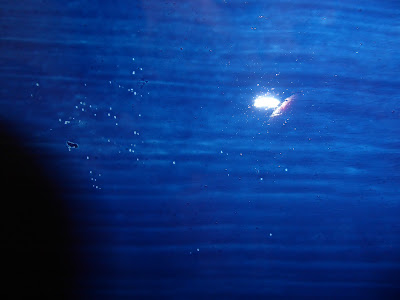
The following day I was slightly dismayed to find that a number of tiny bubbles had formed as the paint dried overnight. I had no idea why and didn't spend any time worrying about it.

This is what the surface now looked like, in some places.


That would not do at all! So I carefully ground out the bubbles with a fine carbide burr in my small cordless drill, and filled them all with Hempel Profair filler.

This is how it looked.


Not pretty, I know, but I was sure that subsequent coats of gloss would cover it all up nicely.

Onwards and upwards!


Boot Top | Marking Up

I decided at the start of the build that I wanted PocketShip to have a handsome boot top stripe, like the prototype.

It's a lot of trouble to do properly and some builders don't bother, but I thought it was worth the effort.

The first step was to determine how wide the white stripe on the blue side panels should be, and how far down the sides it should be located.

After consulting lots of of photos I concluded that the stripe should be about 38mm from the edge of the white bottom section at midships.

I used the laser level to mark up the top edge of the stripe, and then adjusted the bottom edge until it landed fairly at the stem and stern as shown in various builders' pics.

This is what the white stripe looked like when pencilled in half way along the hull. 


Here is what it looked like at the stem.


And this is what it looked like where it crossed the chine and ran along the bottom panels to the transom.


I adjusted the edges fractionally at the bow and stern to make sure they landed in exactly the same place on both sides of the hull.

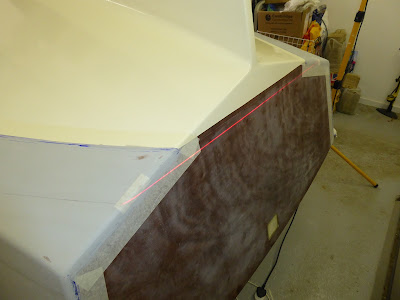
Lastly I used the laser level to ensure that all was level and straight across the transom, like this.


Notice how the stripe varies in width depending on the angle of the side or bottom panel, being exactly level itself from stem to stern.

I think that will look really nice. I'm happy with that!

Hull Side Panels | Sanding

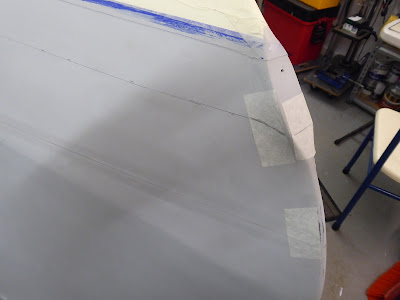
When the primer had hardened I sanded both side panels to a flat, smooth finish using a P220 grit.

They looked like this.


Looking nice!


Wednesday, 12 January 2022

Hull Side Panels | Masking Off & Primer

With the painting of the bottom panels finally complete to my satisfaction it was time to tackle the sides.

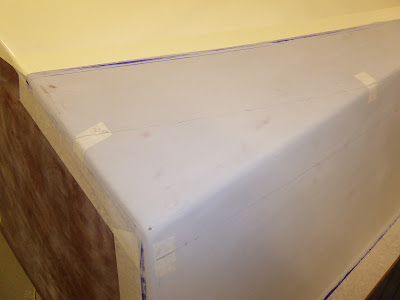
I masked off the sides and the transom, like this.


I used this old wallpaper roller to burnish the blue tape, to get a really good seal against the hull.


Weapons of choice for the application of paint are a 4" nylon roller, as here.


And a 4" foam brush for tipping out, and good bristle brush for the edges. Like this.


The sides will be dark blue so require a light grey primer. I applied three coats over as many days and it turned out quite nice, as here.


I found that part of the secret to a good finish is to only roll out a small area at a time, so it can be tipped out while the paint is still fluid. It starts to dry as soon as it hits the surface, so you have to be quick.

The other trick is to only pour a small quantity of paint into the tray, for the same reason. As long as it flows freely I can keep the wet edge.

I also think that I am getting better at rolling and tipping, having now had plenty of practice ...

I am going to leave that to harden off for a couple of days before sanding it ready for paint.

Exciting times!


Hull Bottom Panels | Final Coat of Gloss?

When the test panels on the hull were dry I compared the finishes. Foam and bristle brushes both produced good results but the foam achieved a thinner coat, so that was the way ahead.

The bottom panels were then carefully sanded with P220 and then P280 grit to obtain a good, smooth surface. This is what they looked like.


I washed the panels and allowed them to dry before applying what I hoped would be the seventh and final coat of gloss.

I added 10% paint conditioner to the gloss to minimise brush marks, based on previous experiments. Here is the result.


It did not look too bad at all! There are some minute marks and dust particles which I will polish out later, but on the whole I think that it turned out OK.

So I summoned up the courage to peel off the masking tape. I was a bit worried that it would tear the paint and leave a jagged edge, but it came off beautifully.

Like this.


Leaving a perfectly clean and sharp edge. It's great stuff, this 3M tape!

This is what the bottom of the hull looks like now.


We're definitely getting there!


Festive Spirit!

Christmas and New Year came and went, and predictably boatbuilding stopped for the holiday.

Instead we ate and drank too much, as always.

Including this bottle of delicious Boatyard Gin, courtesy of my son.


A close look reveals that it is nearly empty ... cheers Nick!