Sunday, 6 March 2022

Centreboard | Rework & Repaint

I had set the centreboard to one side while I painted the hull and when I returned to it to finish it off I immediately realised that compared to the hull it was of quite a poor standard.

Clearly my painting skills had improved a lot since my first attempts on the centreboard!

No problem. I sanded the board back to a P220 finish, like this.


Three coats of primer followed, as here.


I was able to paint both sides at the same time by using these Paint Points to support the board.


The primer was sanded again to a P220 finish.

I applied four coats of gloss with a good brush rather than waste a roller, and when hard I wet sanded the board with P800 through to P2500 grits. Like this.


Lastly I used Festool polishing compounds to polish from a P5000 to a P11000 finish. The board was now perfectly flat, and smooth as glass! Like this.


That will slip through the water very nicely.


Hull Side Panels | Glossing And Finishing The White Stripe

It was time to finish painting the white boot top stripe.

First I masked off the hull sides and sanded the white primer with P220 grit, and applied the first coat of gloss.

It looked like this.


In all I applied six coats of gloss to the white stripe. This was the result.


When dry I pulled the masking tape and wet sanded the stripe with P800 grit. As here.


It looked really good, with a sharp edge and no bleeding.

Then I wet sanded with P1500, P2000 and P2500 grits. I found that wet sanding is a lot easier when using a decent spray bottle to wet the surface.


Lastly I polished the stripe using the Festool P5000, P9000 and P11000 polisher and compounds.

It looked like this.


Note that I masked off the side panels to protect them from mess when wet sanding. However, I didn't mask right up to the stripe, which turned out to be a problem.

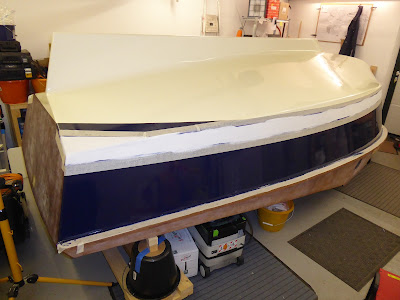
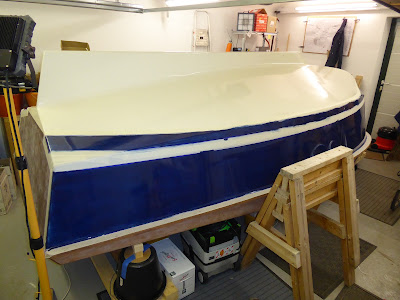
Finally I pulled the tape and the masking, as here.


I found that the area of the side panels not covered by the masking was duller than the rest of the hull side. I must have sanded or polished it too much.

There was a dull band on each blue side all along the edge of the white stripe, which I was not able to polish out.

You can't see it in the pic but it is really obvious when standing next to the boat.

Oh dear. I can see rework coming my way ...


Hull Side Panels | Finishing The Finish

I wanted to get a really good finish on the blue hull sides so I employed the same methods used on the bottom.

First I wet sanded both sides with P800 wet and dry. Here is the starboard side.


Then I did the same again using P1500, P2000 and P2500 wet and dry paper. This is the port side.


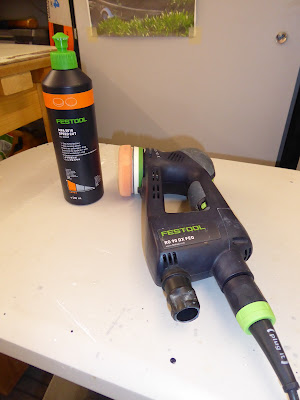
Lastly I used the Rotex 90 in rotary mode to polish the surfaces.

This is the sander using a medium P5000 (red) polisher and compound.


Then we use a fine P9000 (blue) compound and an extra-fine P11000 (white) compound to complete the finish. Here they are.


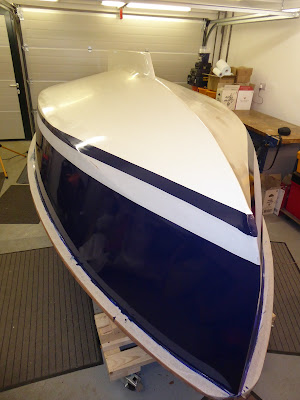
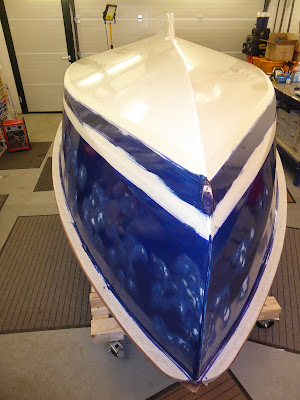
This was the result on the starboard side at the stem.


It's beautifully smooth but like the bottom I'm not too impressed with its shine or depth of colour.

I will live with it for a while and see how I feel about it ...


Hull Side Panels | Priming The White Stripe

I thought that it would be wise to use white primer over the light grey primer on the hull side panels, to be sure that the white stripe would be same shade as the bottom.

Here I have masked off the white stripe and applied a coat of white primer.


I think that should look nice when painted!


Hull Bottom Panels | Finishing The Finish

I decided to aim for a better finish on the bottom panels, not because they would be on show but because I wanted to practice before tackling the topsides at some future date.

Accordingly I invested in some wet and dry sandpaper and a set of polishing attachments and compounds for the Rotex 90 sander.

First I pulled the masking tape on the blue stripe.


Then I wet sanded the bottom panels with P800 through to P2500 grits.

Lastly I polished the panels with Festool polishing compounds from P5000 through to P11000.

This was the result.


The surface is now beautifully smooth - like glass - but it isn't as shiny as I had hoped.

I will no doubt find a way of improving the lustre at some point, not that it matters on the unseen bottom panels which will in any case get scraped and scratched in use.

We're getting there, slowly but surely!


Hull Side Panels | More Gloss

When the Hempel filler had cured I sanded the affected surfaces flat with a P220 grit and applied four more coats of paint.

This is the paint I am using. The colour is Oxford Blue, appropriately enough!


I used this roller and a foam brush for tipping out.


I left the paint to fully harden for a couple of days and then sanded the surface with a P280 grit to get a nice flat surface. As here.


Lastly I applied a sixth coat of gloss, hoping it would be the last. This was the result.


Looking good!

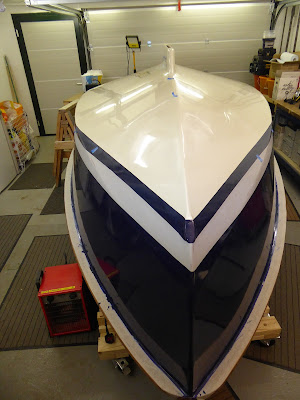
When the paint was dry I pulled the masking tape on the stripes, as here.


It left a lovely sharp edge with no bleeding. This 3M tape is excellent stuff!


Hull Side Panels | Gloss Paint & Bubbles

I masked off the white boot top stripe and applied the first coat of blue gloss to the sides, using a 4" roller and a foam brush for tipping out.

Not surprisingly it looked pretty patchy, as in this view from astern.


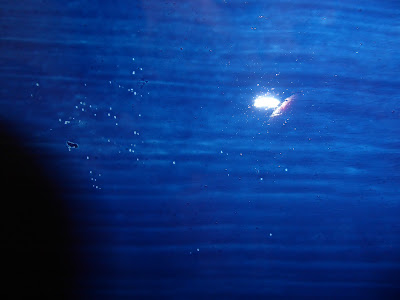
The following day I was slightly dismayed to find that a number of tiny bubbles had formed as the paint dried overnight. I had no idea why and didn't spend any time worrying about it.

This is what the surface now looked like, in some places.


That would not do at all! So I carefully ground out the bubbles with a fine carbide burr in my small cordless drill, and filled them all with Hempel Profair filler.

This is how it looked.


Not pretty, I know, but I was sure that subsequent coats of gloss would cover it all up nicely.

Onwards and upwards!