My experience painting the horizontal blue boot top on the transom made it clear that it was going to take a long while to add the white and blue stripes to the vertical edges.
This mainly because ten coats of gloss are required to obtain a good finish, but also because the white and blue sections cannot be painted at the same time.
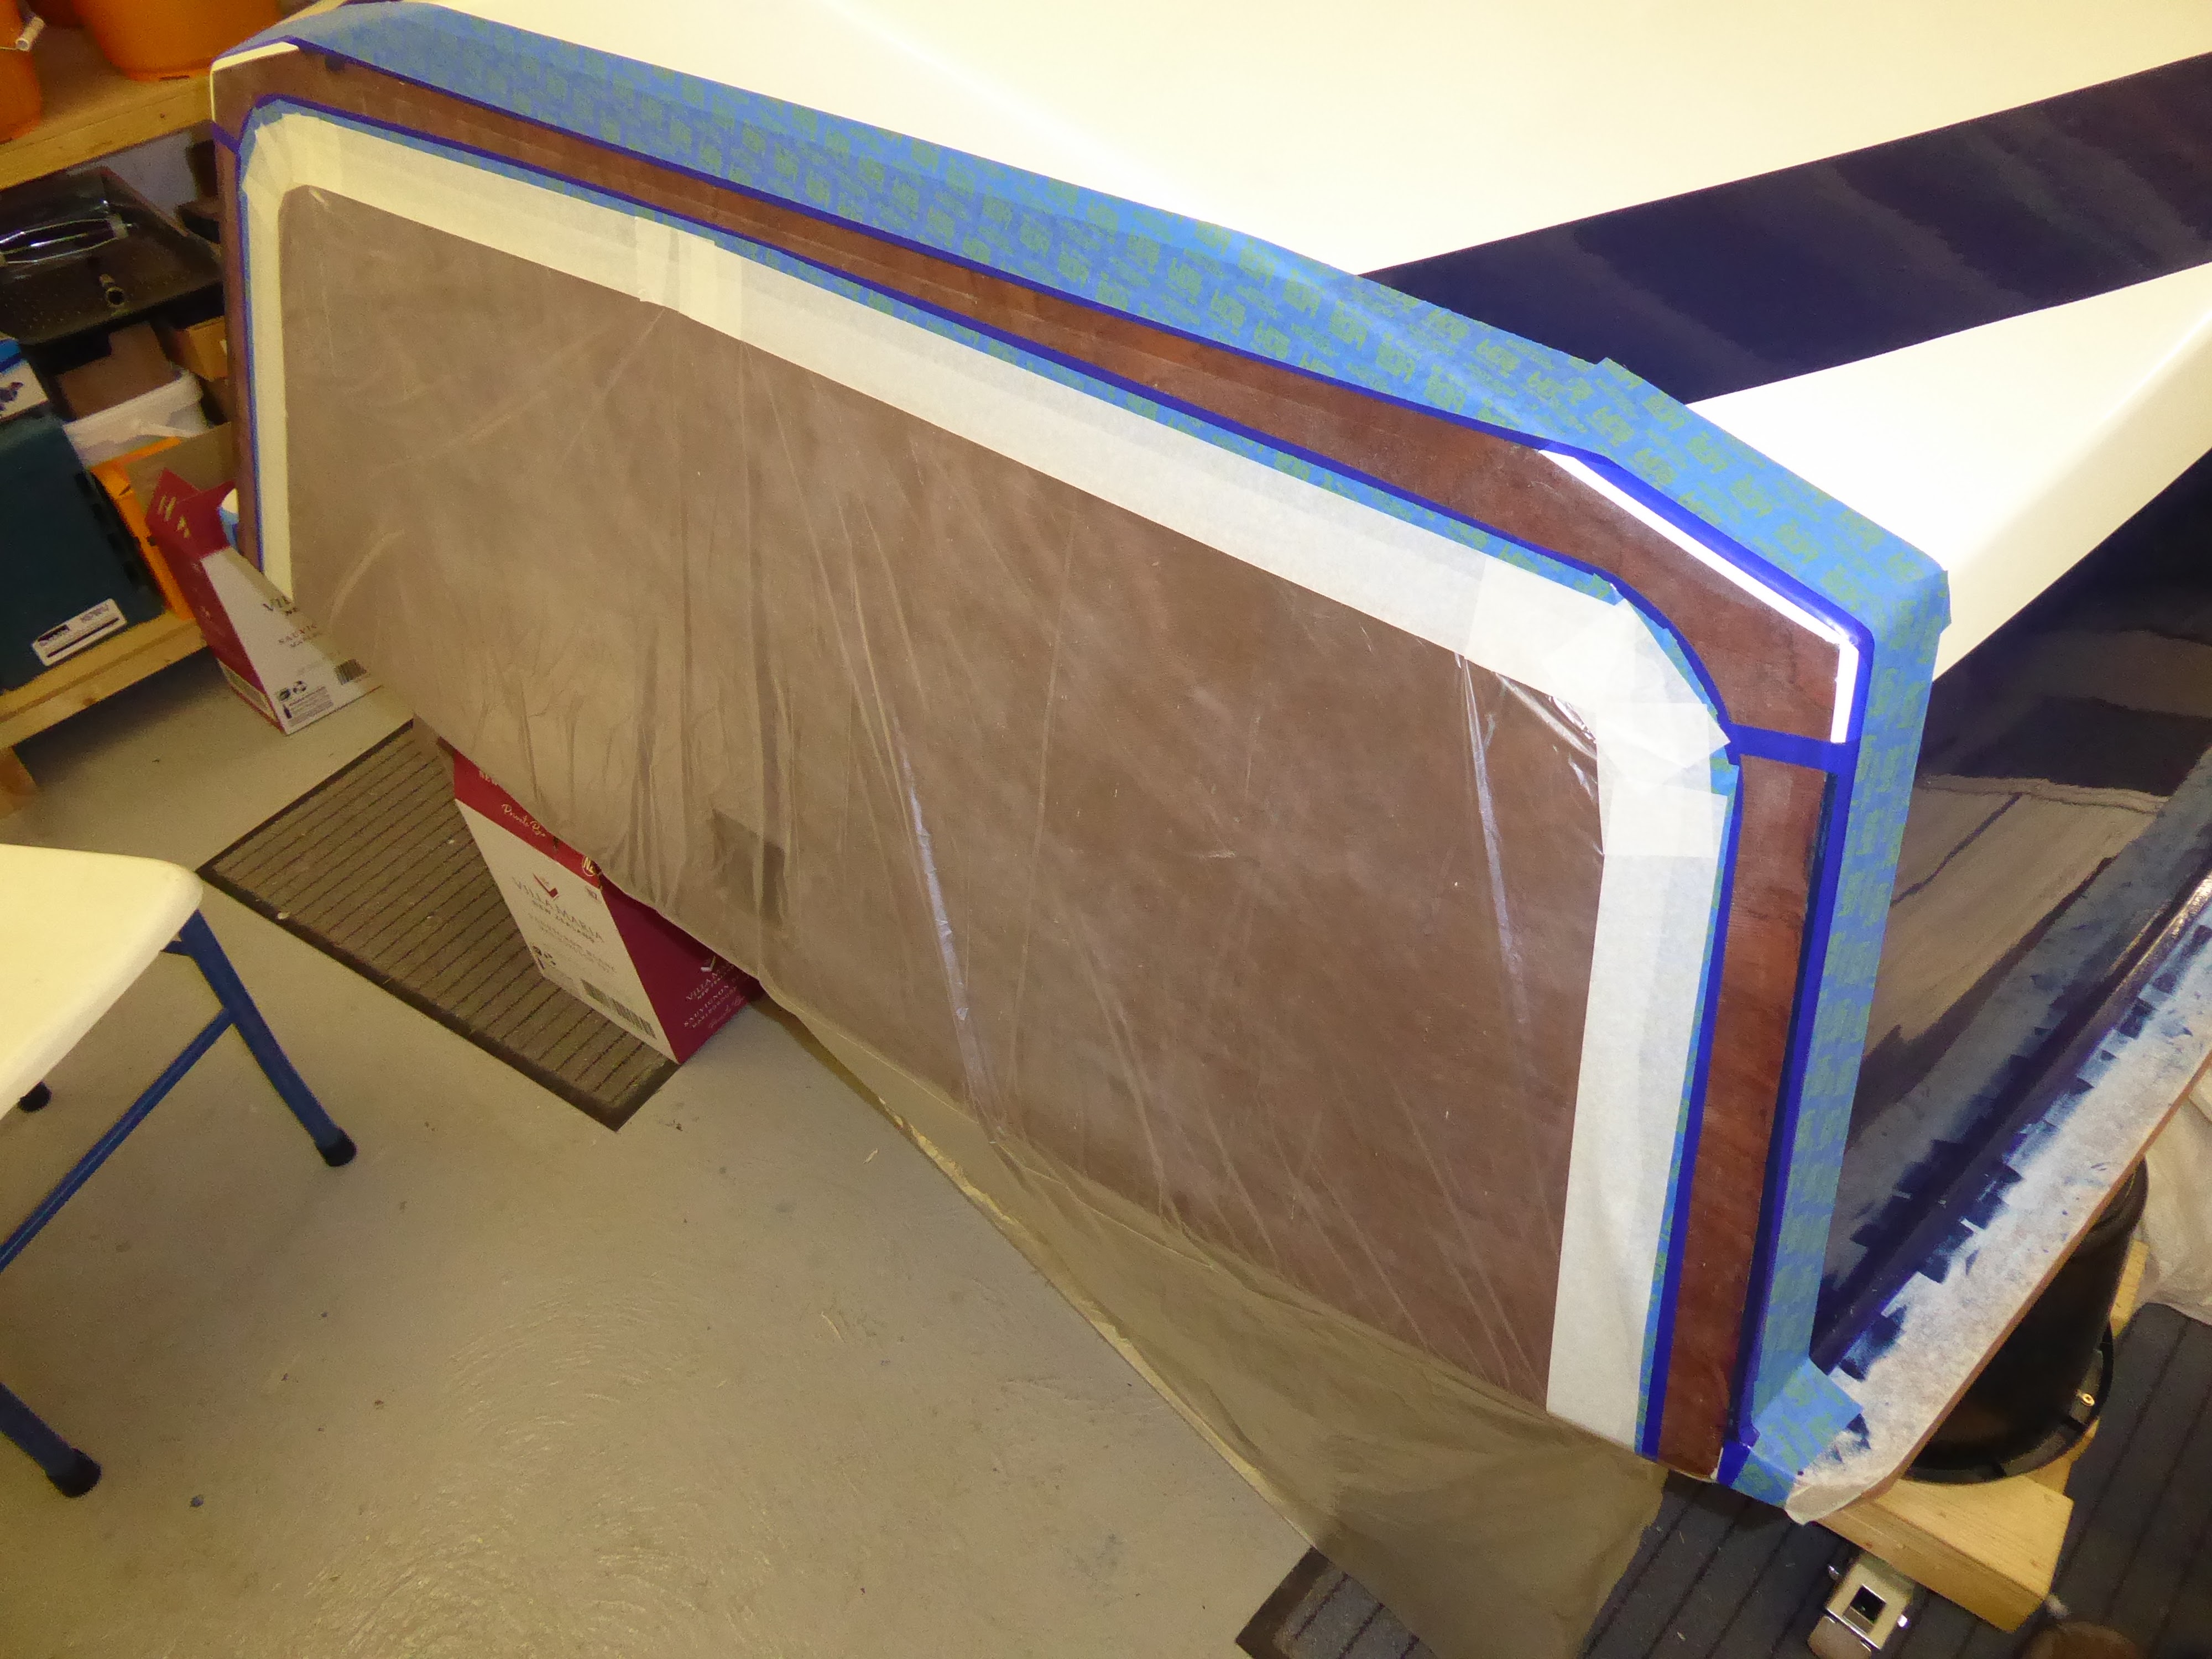
The first task however was to mark up the rest of the transom stripes. So I used masking tape to cover the edges so I could pencil in the lines as many times as needed to get it looking just right. Like this.

You can just see the red laser line being used to ensure that the horizontal lines are level.
I am copying the paint scheme on the prototype, so required the white corners of the stripe to be curved upwards to meet the blue.
Here is the curve marked up on the port chine.

I made the horizontal white stripe the same width as the blue boot top, which was 38mm. As here.

Likewise the vertical blue stripes were pencilled in at the same width, like this.

I initially decided that the horizontal white stripe would be of even width, but after standing back to take a good look I decided that it would look better with a slightly curved top.
That's how the prototype was painted, and there has to be a good reason for that.
Here I have taped a thin batten to the transom so I could mark up a fair curve.

Satisfied that the stripes all looked good - I am going to refer to them collectively as the 'frame' from now on - I transferred the pencil line to the transom itself.
Here the frame has been taped up and the transom masked off before painting begins.
And here three coats of white and grey primer have been applied.

So far, so good!
No comments:
Post a Comment